Concrete Cutting Techniques for DIY Projects: A Comprehensive Guide
Concrete is a common material in many DIY projects, but cutting it can be a daunting task if you don’t have the right knowledge or tools. This guide aims to provide insight into concrete cutting techniques suitable for DIY projects.
Preparing for Concrete Cutting
Before you start cutting, it’s important to ensure you have the right safety gear. This includes safety glasses, gloves, sturdy footwear, and dust masks. If you’re using power tools, hearing protection is also a good idea. Next, plan your cuts by marking the cutting lines on the concrete using a chalk line.
Manual Cutting Technique: Using a Chisel and Hammer
Manual cutting with a chisel and hammer can be an effective way to cut concrete for small DIY projects.
Step 1: Position the sharp edge of the chisel along the line you’ve marked on the concrete.
Step 2: Strike the other end of the chisel firmly with a hammer.
Step 3: Continue this process along the line.
Step 4: Once you’ve created a groove along the line, strike the chisel more forcefully to break the concrete along the groove.
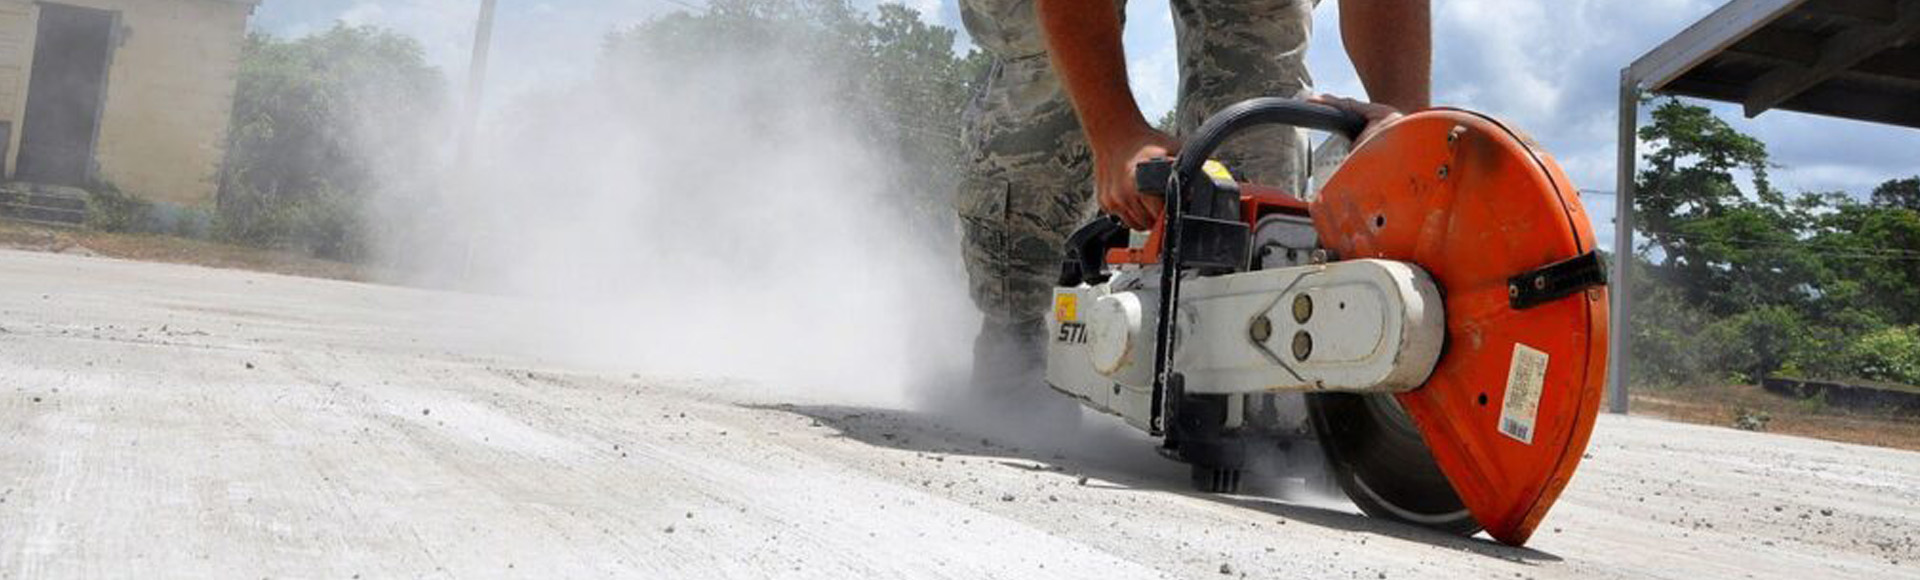
Power Cutting Technique: Using a Circular Saw
For larger projects or thicker concrete, a power tool like a circular saw equipped with a diamond blade is recommended.
Step 1: Adjust the depth of your saw blade to match the thickness of the concrete. This will all depend on how deep you want to cut the concrete that you have.
Step 2: Start the saw and slowly guide it along the marked line. Let the saw do the work – forcing it can lead to damage or uneven cuts.
Step 3: If you’re making a deep cut, make several passes, increasing the depth of cut with each pass.
Step 4: Use water to keep the blade cool and reduce dust, but only if your saw is designed for wet cutting. If not, allow the blade to cool periodically during cutting.
Wet Cutting Technique: Using a Wet Saw
Wet saws are often used for larger DIY projects. The water keeps the blade cool, reduces dust, and helps achieve cleaner cuts.
Step 1: Fill the saw’s reservoir with water.
Step 2: Adjust the blade depth as needed.
Step 3: Turn on the saw and gently guide it along the marked line.
Step 4: As with a circular saw, allow the saw to do the work and make several passes for deeper cuts.
Safety and Clean-Up
Regardless of the cutting technique used, safety should always be a priority. Always follow the manufacturer’s safety instructions when using power tools. After cutting, ensure to clean your tools and work area thoroughly. Properly dispose of any concrete dust or debris to avoid respiratory hazards.
Final Thoughts
Cutting concrete for DIY projects can be a challenging yet rewarding task. By understanding and applying the right cutting technique, you can ensure a safe and successful project. Remember that every project is unique, and the best technique will depend on the size and scope of your project. For larger or more complex projects, consider hiring a professional like Northern Concrete Cutting to ensure the job is done accurately and safely.
Write a Comment